

1. Position the sedated patient in lateral recumbency (right side to the plate for right lateral, left side to the plate for left lateral).
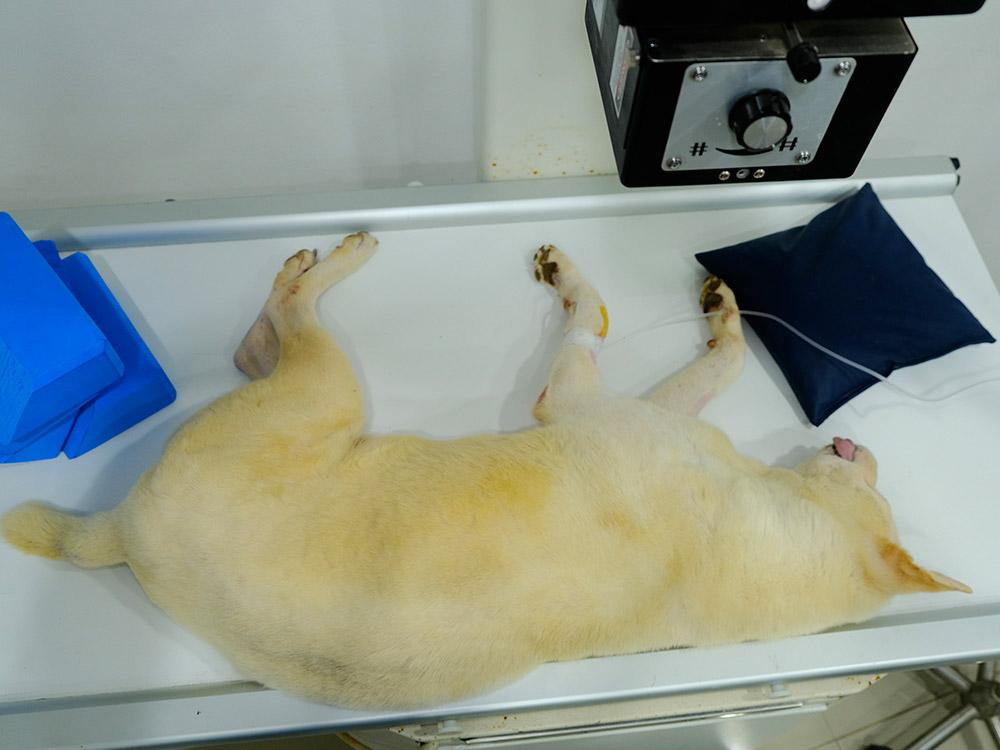
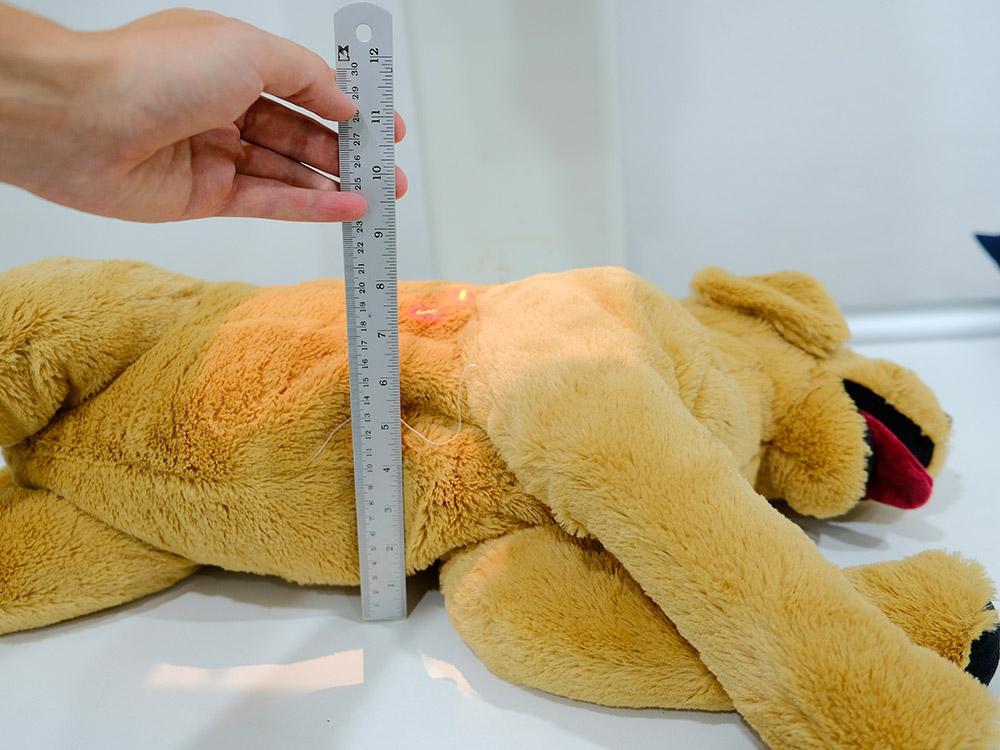
2. Measure the deepest part of the patient. Select exposure settings on the x-ray machine, and place the grid on the plate if the depth is over 10cm. Some x-ray machines have the plate fixed in position under the table (as in the pictures), so this won’t need to be done.
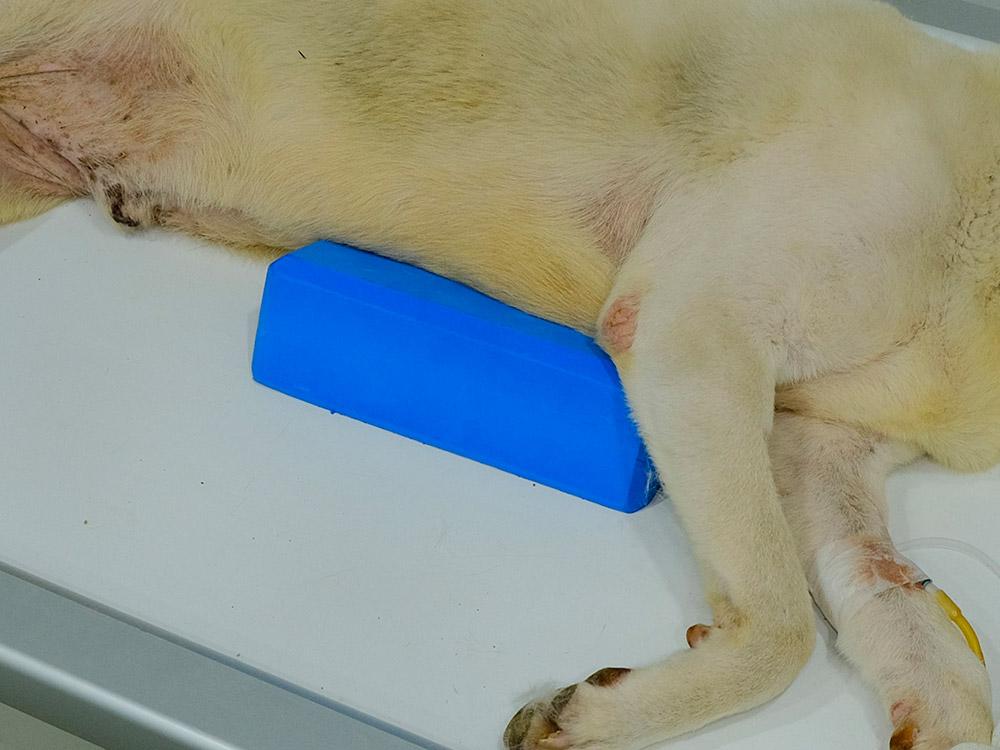
3. In the sedated patient, place a foam wedge under the patient’s sternum to minimise rotation, and ensure the patient’s ribs are in line with their spine. In conscious patients, the restrainers may adjust the patient and hold the limbs in place to minimise rotation. This is not ideal, though, as the clinicians will be exposed to harmful scatter radiation.
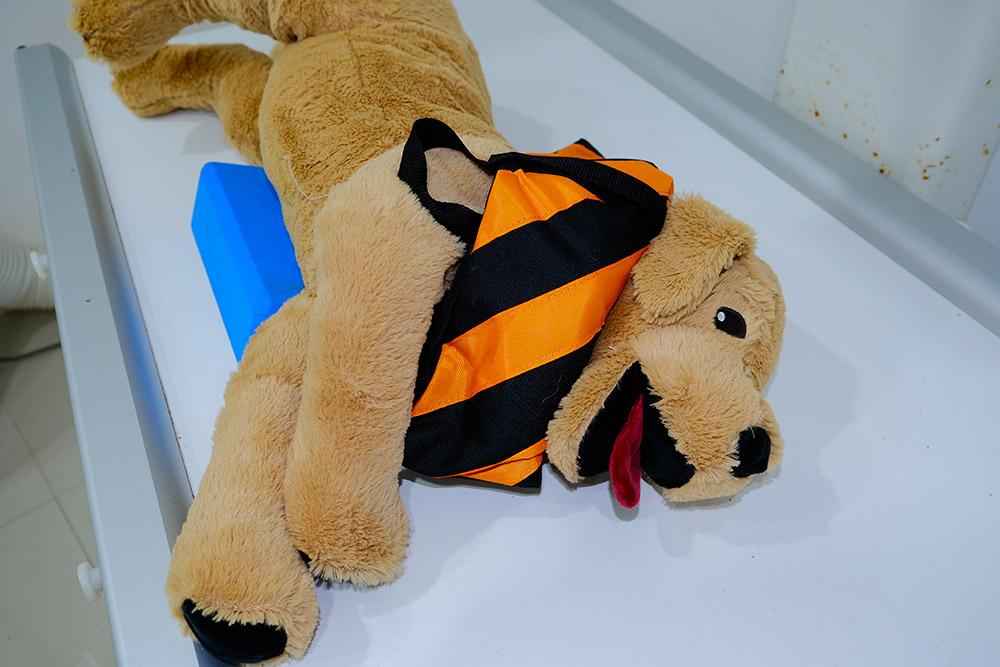
4. In the sedated animal, secure the patient’s neck in place by placing a sandbag over it, making sure breathing is not obstructed.
5. Pull the forelimbs cranially to remove them from the X-ray field. Secure them in place with rope ties or sandbags. Very rarely and in exceptional circumstances (if sedation is too risky for a severely compromised dog), the limbs may be manually held in place, as long as proper shielding equipment (lead gloves, apron, thyroid protector) is worn.
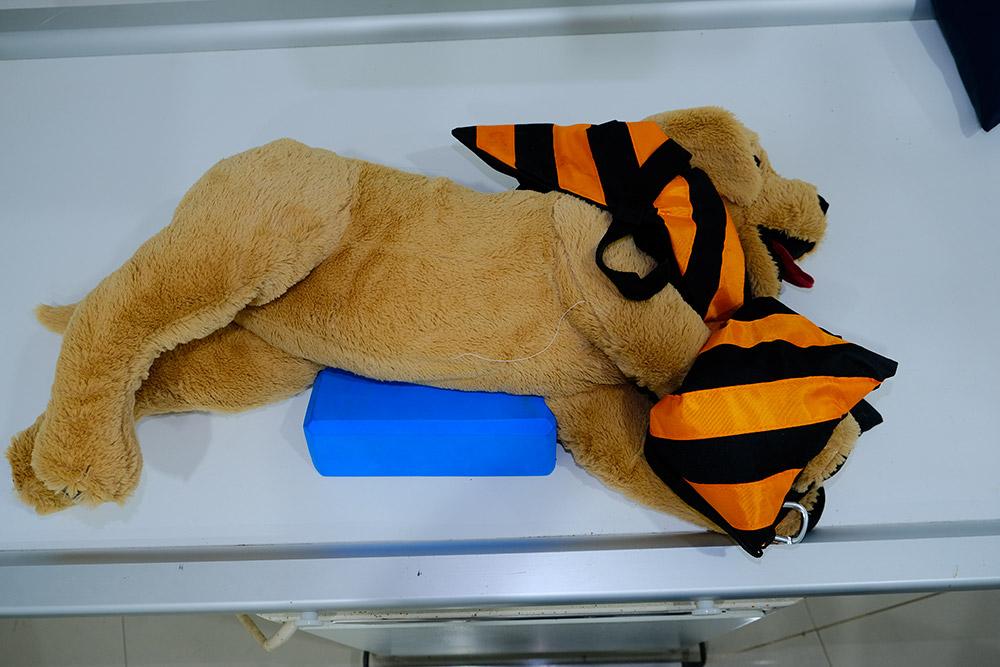
6. Pull the hindlimbs caudally and secure in place with sandbags, placing a foam block or wedge between the patient’s stifles to prevent rotation of hindlimbs, and thus hips.
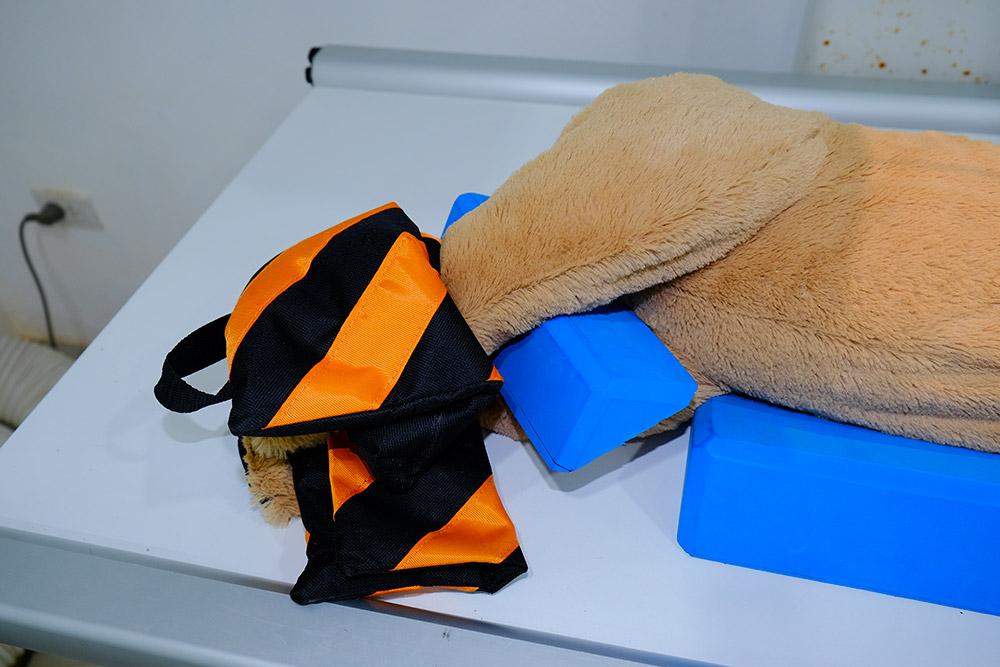
7. Place right/left marker within collimation of the beam, using the right marker when the patient is in the right lateral position, and the left marker when they are in the left lateral position. This may also be added digitally after the radiograph is taken.
8. Centre the primary beam on the patient’s mid abdomen at the level of the last rib and collimate to include the sternum, pelvis, and both dorsal and ventral skin edges.
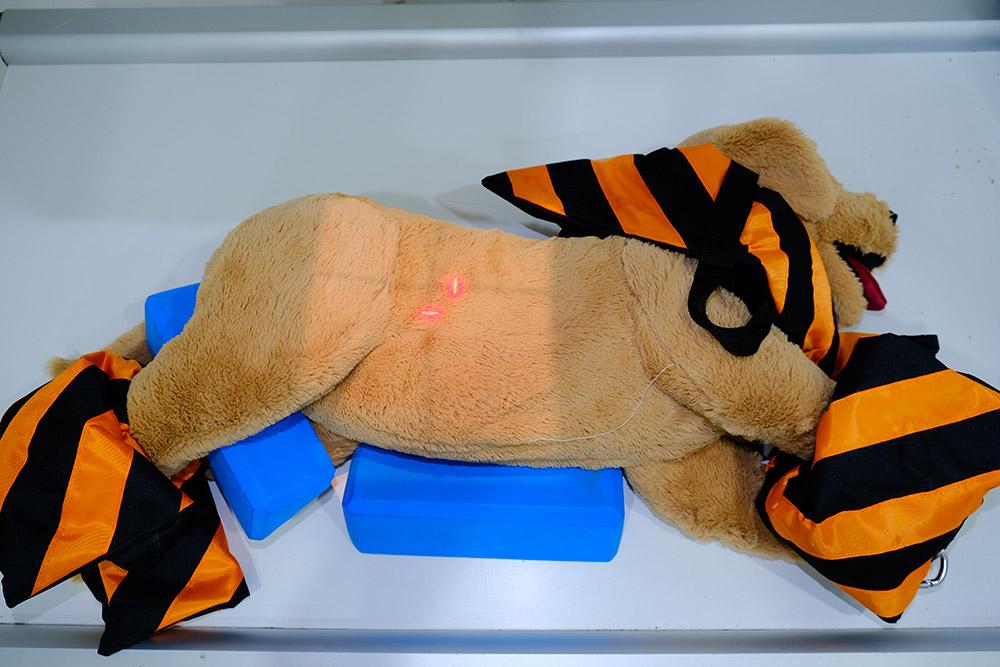
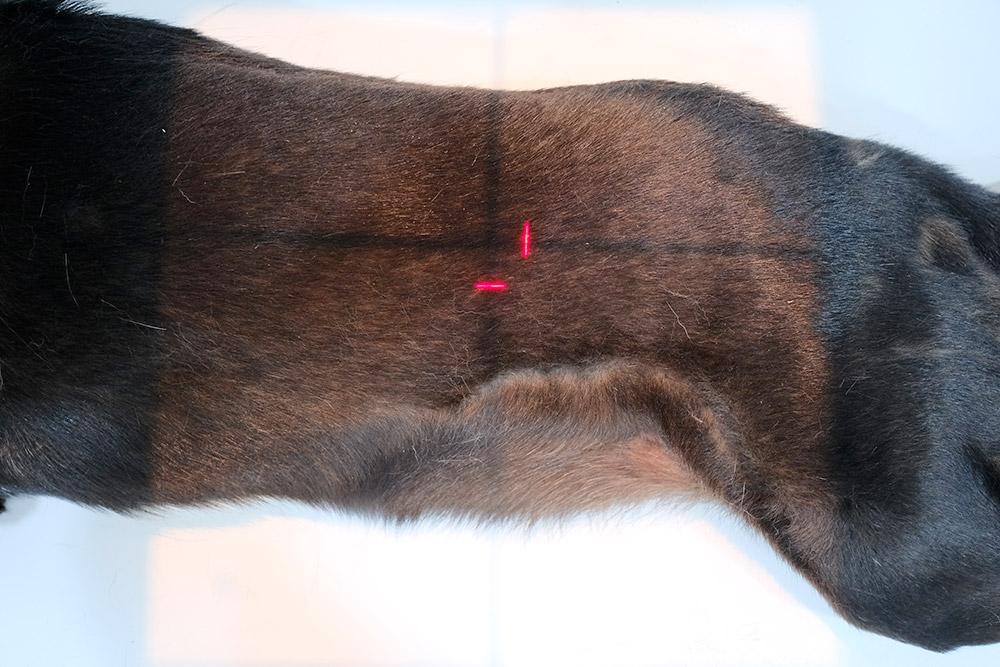
9. Once staff are behind the lead shield, take the radiograph.
In the case of bladder studies, the beam is centred further caudally, and for male dogs, hindlimbs are drawn cranially.