

Introduction
Intravenous injection allows for quick and direct administration of a systemic treatment. The intravenous route can be achieved with a needle and syringe or via a catheter, depending on the type, volume and frequency of the treatment given. Not all drug formulations can be given directly in the bloodstream, and at no point should they be delivered in the arterial system.
Common vein for used are:
- Jugular
- Lateral Thoracic
- Cephalic and its distal branches
- Saphenous and its distal branches
- Transverse facial
📚 Red blood cells can be damaged through narrow needle shafts, so choose a large bore needle (18G or more) for blood collection or highly viscous drugs. Smaller needle gauges can be used to inject low viscosity drugs, such as sedatives.
Intravenous injections are advised when:
- Rapid delivery of treatment is needed
- Direct administration of drugs into the bloodstream is required
- Blood samples are required
Intravenous catheter placement
The placement of an IV catheter is advised when:
- administering IV fluids
- maintaining IV-anesthesia
- administering IV medication over a series of days.
Use of an IV catheter reduces the need for multiple IV-injections, minimising the stress placed on the animal to undergo multiple procedures, whilst lowering the risk of associated complications, such as perivascular inflammation.
Procedure
Prepare. Locate the vein and remove the cap of the needle, but avoid touching the metal shaft (which will enter the vein), by holding the plastic luer end. Use surgical spirit to wipe the skin over the vein where you intend to enter.
Raise. Use your non-dominant hand to obstruct its flow, and allow it to raise (congest).
Advance. Place the end of the needle on the skin, with the bevel facing you (the slanting side of the needle point). Slowly push the needle through the skin, keeping a constant pressure. Blood will pour from the luer end once the vein is entered.
Attach. Attach the giving set or syringe. Stop infusing if swelling appears around the vein, which would indicate the treatment is going perivascularly.
Compress. Compress the injection site for 30-60 seconds when the needle is removed to prevent haematoma formation.
⚠️ Aseptic technique during catheter placement is essential to reduce the risk of phlebitis.
Step by step procedure:
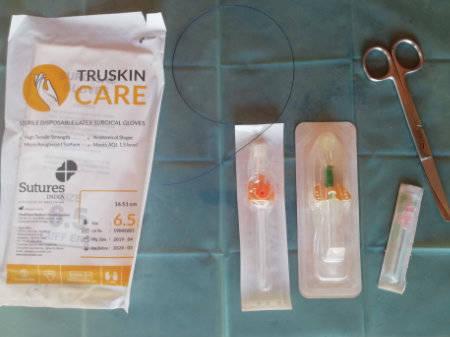
Equipment. You will need scrub solution and cotton to prepare the area, a pair of sterile gloves, suture material (ideally monofilament), an 18 guage needle, suture scissors, sterile 14 - 16 guage IV catheter (Figure 1).
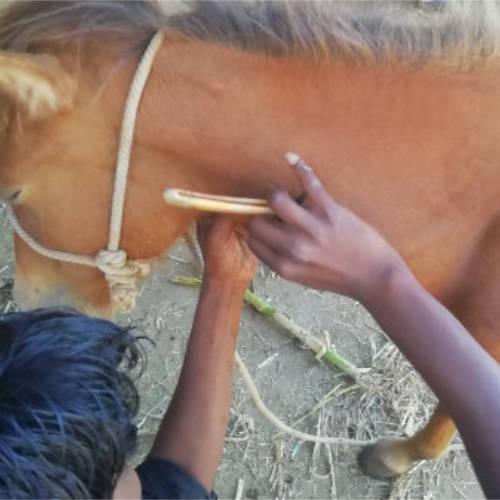
Clip the area. Shave approximately 2x3 inches (or 5x8 cm) over the jugular vein, at mid neck level (Figure 2).
Aseptically prep the area. Scrub with diluted chlorhexidine and remove residual scrub soap with surgical spirit.
Handling the catheter. The preferred catheter size for horses is 14-16 G. Begin by removing the cap at the luer end (white cap blocking the clear plastic end) of the catheter. Hold the wings of the catheter (orange), between your thumb and middle finger, and place your index at the original cap end.
⚠️ NEVER touch the the white catheter sleeve covering the needle, which will will sit inside the vein
Identify the vein. Wearing sterile gloves, compress the vein with your non-dominant hand (in the image, the left hand) until it visibly rises in the jugular groove. Keep the vein raised throughout the entire procedure.
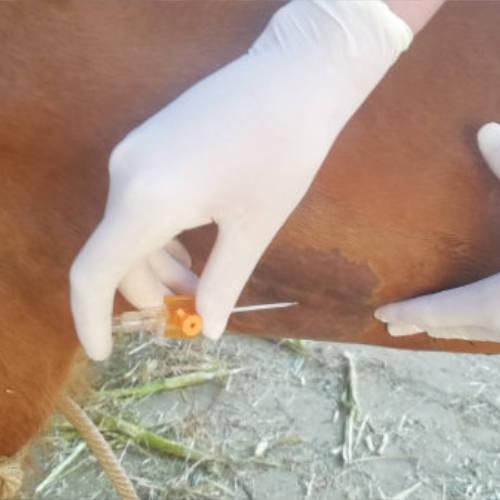
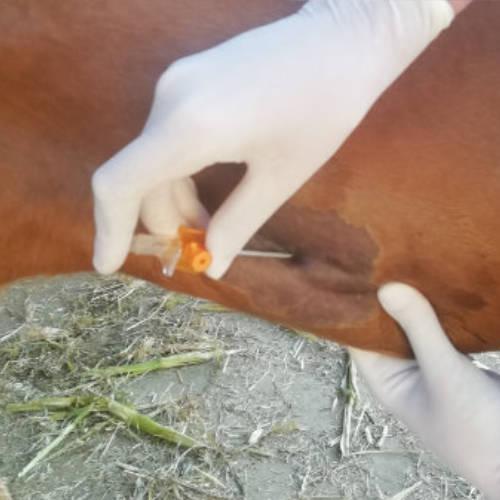
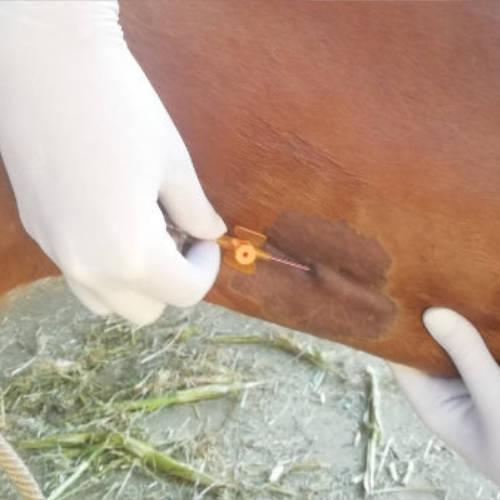
Catheter placement. Rest the end of the catheter needle on the skin at your intended insertion point (mid neck level). Direct the needle end away from the head (caudally; figure 3). Keeping approximately 45 degrees between the catheter and the vein, gently push the needle end through the skin (Figure 4). You will encounter some resistance, then a feeling of give. Stop pushing the catheter forward at this point and release the cap/luer end of the catheter, by lifting your index finger (only).
Catheter insertion. If blood enters and rises through the luer connector, you have succesfully entered the jugular vein (Figure 4). Slide your thumb and middle fingers close to your index finger, and away from the orange wings, so as to only hold and stabilise the clear luer part of the catheter. Release the pressure on the vein and use you non dominant hand to grab the wings of the catheter, and gently slide them and the white catheter body along the metal needle, into the vein. Once the wings are snug to the skin, slowly retract the metal needle out and return to the compress the vein, so as to ensure the catheter continues to fill with blood.
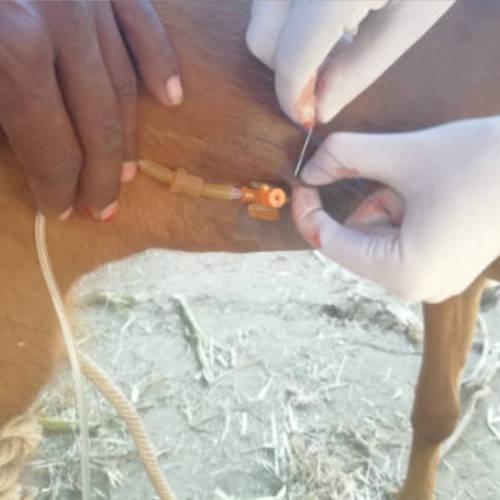
Securing the catheter. Close the catheter with the luer lock cap or by attaching an IV fluid line to it. Locate the pre-existing holes in the wings of the catheter body. Lift a fold of skin near the wings, and place an 18G injection needle through it (Figure 6). Take a piece of sterile suture material, ideally monofilament, and insert it through a hole in the wing, then through the 18G needle. When the suture has passed through the needle, withdraw the needle from the skin.
This method results in the suture being placed through the skin and the wing of the catheter.
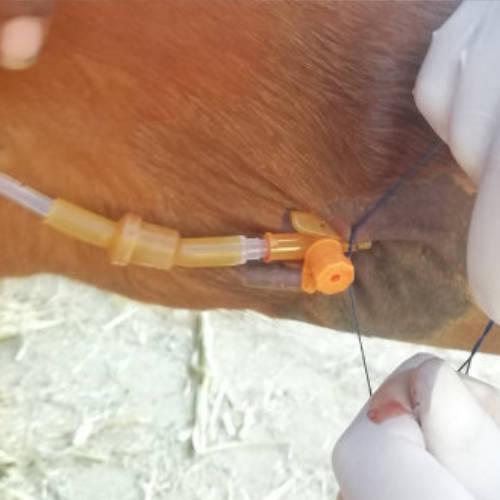
Repeat this procedure on the other side and then tie the ends of the suture, bringing the skin folds over the catheter and securing the knot with several surgeon's throws (Figure 7).
If you have a catheter without wings, 'butterfly wings' can be constructed from tape which is attached to the IV-catheter, and the suture is fixed through the fold of skin and tape wings, as described above.