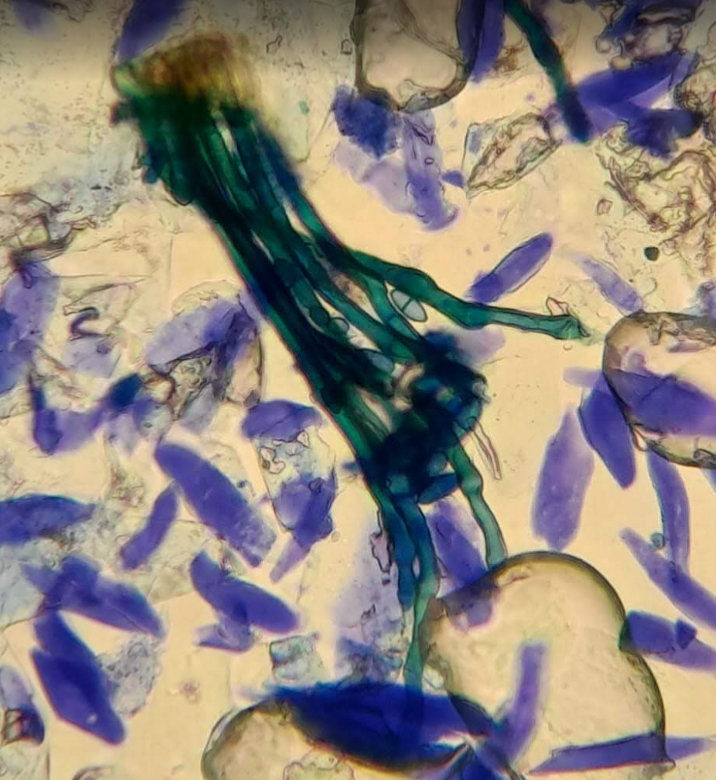

The equipment needed for collection of skin samples is fortunately limited and easy to obtain. Achieving a correct diagnosis avoids the common situation where multiple ineffective therapies are used to the detriment of the condition.
This section describes the equipment needed and the techniques for collecting diagnostic skin samples.
In some cases a diagnostic laboratory is required to process biopsies and perform bacterial culture and sensitivity, however in many cases an in-house microscope with access to simple stains can provide sufficient information to guide therapy.
Equipment required
- Magnifying glass
- Clear sticky acetate tape
- Tweezers /paper envelope
- Sterile swab
- Small brush (toothbrush)
- Universal container
- Needle/syringe/microscope slide/sterile gloves
- Scalpel blade/microscope slide/liquid paraffin
- Punch biopsy/local anaesthetic/formalin/universal container
- Skin record map/ruler
- Blood sampling tubes/needles/syringes
- Field microscope and basic stains
Sample collection techniques
Hair plucks
- Wear gloves as dermatophytosis is zoonotic
- Forceps or tweezers are used to pluck hairs from the edge of lesions where dermatophytosis is active
- The material can be placed on a microscope slide with a drop of mineral oil (liquid paraffin), then a cover slip
- Examine under a microscope
- Send to diagnostic laboratory for PCR (if available) in sterile container or paper envelope
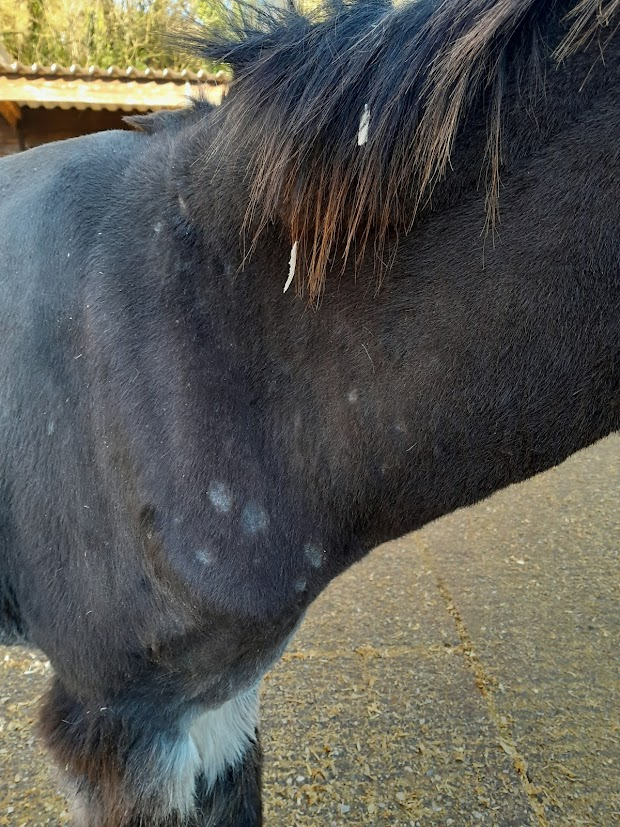
Acetate sticky tape preparation
- Take 5-6 cm long piece of tape and place over suspected area quickly and firmly
- Put tape onto labelled microscope slide
- Examine under the microscope
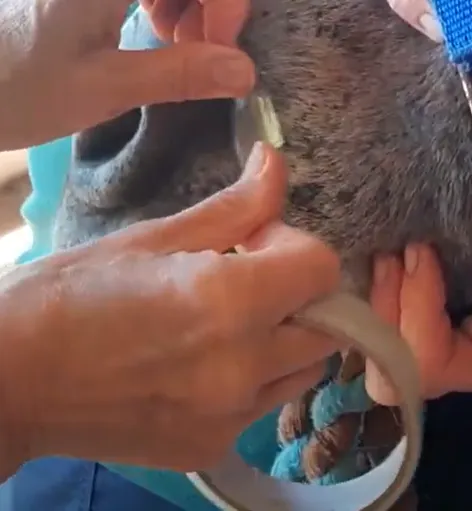
- Free living mites can be found on haired areas - typically lower limb or muzzle (figure 2)
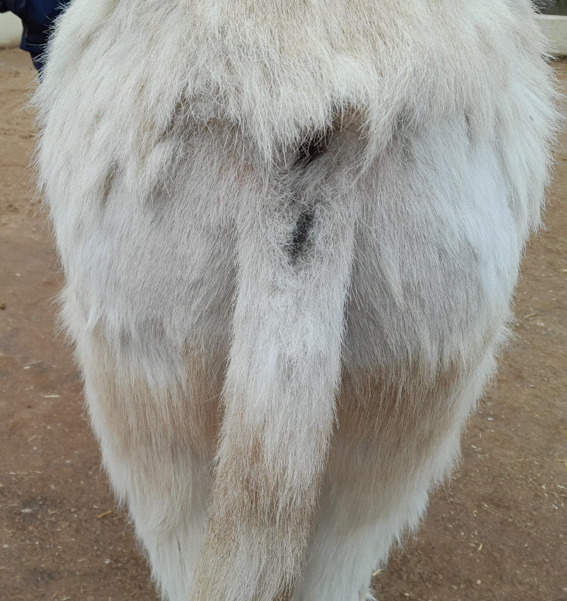
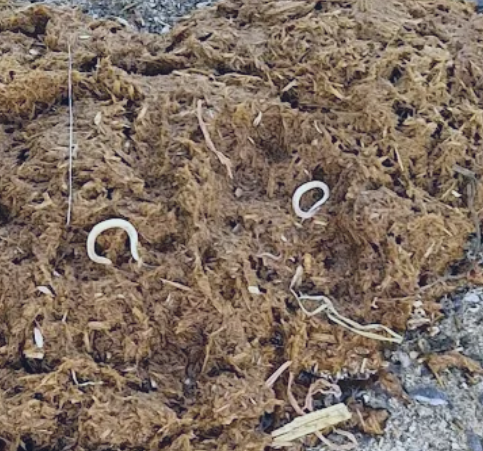
- Oxyuris eggs are found under the tail around the perineum and occasionally in faeces (figures 3 + 4)
Bacteriology swab collection
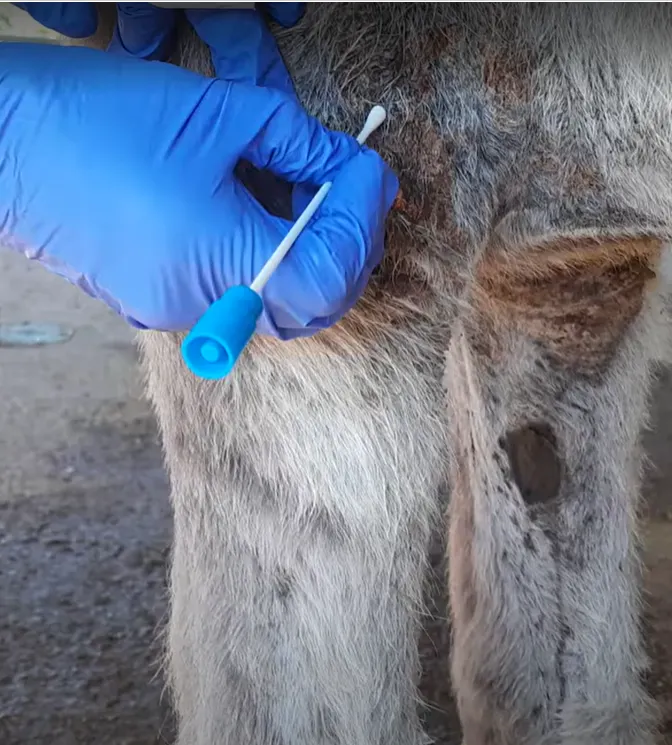
- Do not clean the area to be collected from
- Collect sample using sterile swab from affected area
- Crusts and scabs may need to be removed to sample underneath
- Roll on to microscope slide for in house gram smear staining
- Send to lab in charcoal medium for bacterial culture and sensitivity
Fine needle aspirate (FNA)
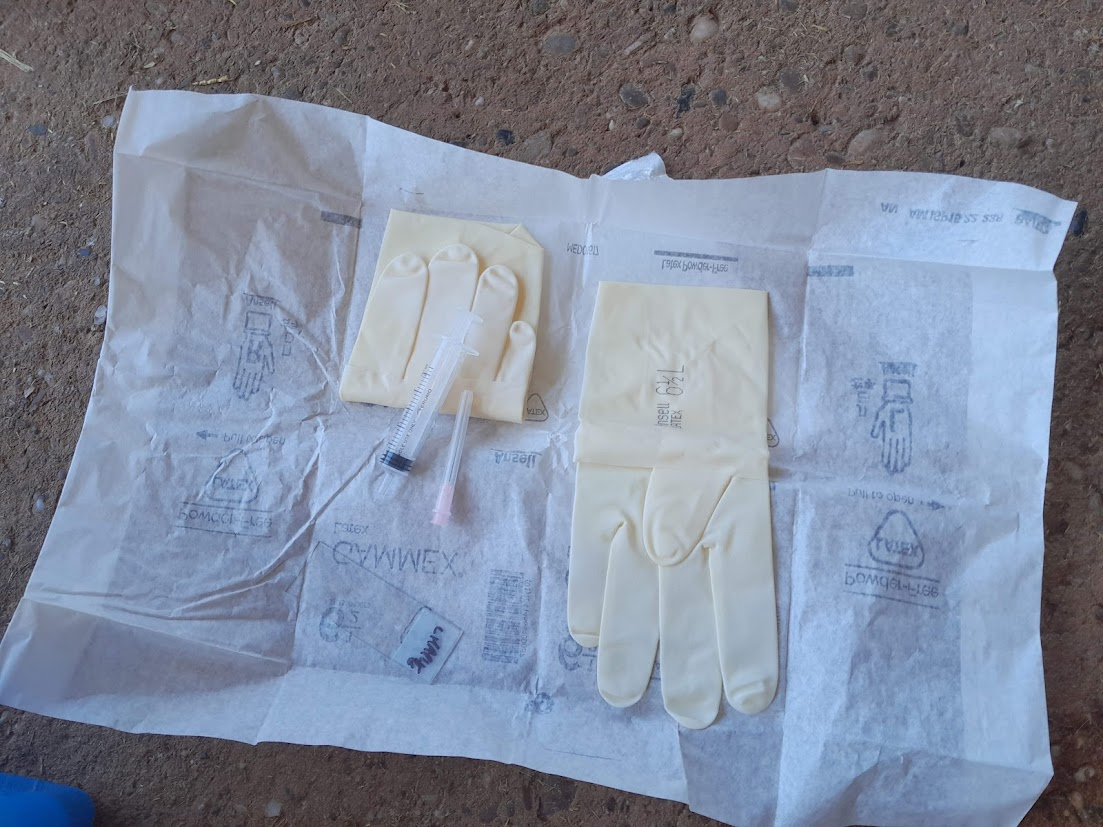
- Clip and sterile prep the site before aspiration, wear sterile gloves
- Use a 21-25 gauge needle
- Fix the mass with one hand and direct the needle with syringe into the mass with the other
- Aim to use 2-5ml of negative suction pressure to avoid excess distortion of cells
- Redirect the needle 3-4 times to improve the chance of a representative sample
- Remove from the lesion
- Push the sample out of the hub using the syringe on to a microscope slide
- Smears are created in a similar manner to blood smears across the slide
- If fluid is aspirated put some in EDTA with 1-2 drops of 10% formal saline for cellular preservation
Skin biopsy
- Sedation is rarely needed unless the patient is in extreme discomfort
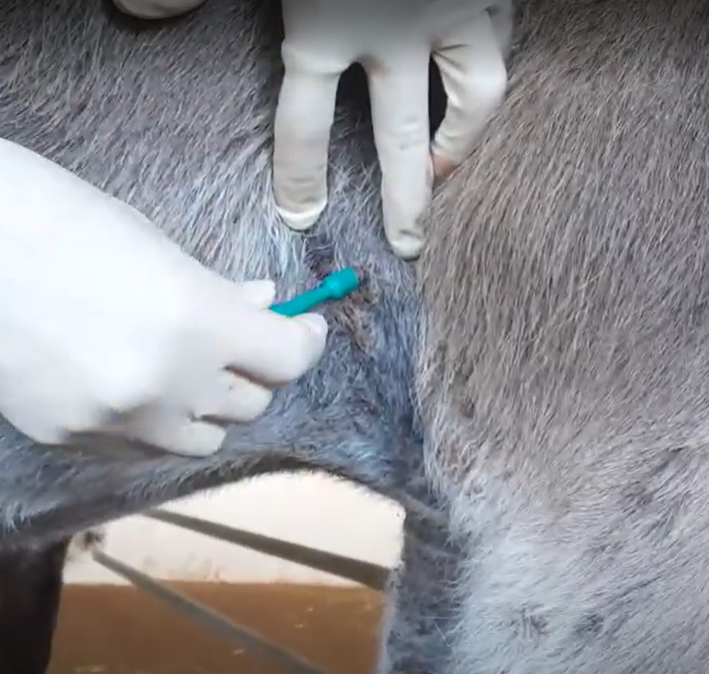
- Lightly clip and clean around but NOT over the area
- Do not clean or remove surface pathology prior to sampling the lesion
- Inject 1-2ml of 2% lidocaine under the lesion using a 25 G needle, allow this to take effect
- Aim to sample 3- 4 sites, and mark with indelible marker where you have placed the local
- Use a sterile 6 or 8mm biopsy punch to sample the area of interest
- Rotate the punch firmly to penetrate all the layers of the skin
- Fine scissors may be used to trim the sample away from the subcutaneous fat
- Place the sample in 10% formal saline
- It can help to place samples (fat side down) on pieces of a wooden tongue depressor prior to fixation to avoid folding, if you are taking multiple samples
- Small sample sites can be left to heal, larger sites can be closed with one simple interrupted suture, after cleaning the site.
Skin scrape
- Useful to identify mites that live under the surface
- Clip excess hair
- Apply mineral oil to the site with a small pipette
- Scrape the area lightly with a scalpel blade held firmly between thumb and forefinger
- Collect the debris into a sterile container or onto a microscope slide
- Expect a small amount of capillary ooze
- Clean the area after scraping
Impression smear
- Used to collect surface cells and debris from superficial skin lesions, or the cut edge of masses
- Helps define superficial bacterial infections and cell type
- A microscope slide is pressed firmly against the area of interest
- The slide is air dries and stained to examine cells/bacteria/fungal hyphae